Deep Dive - How Does SSH Really Work?
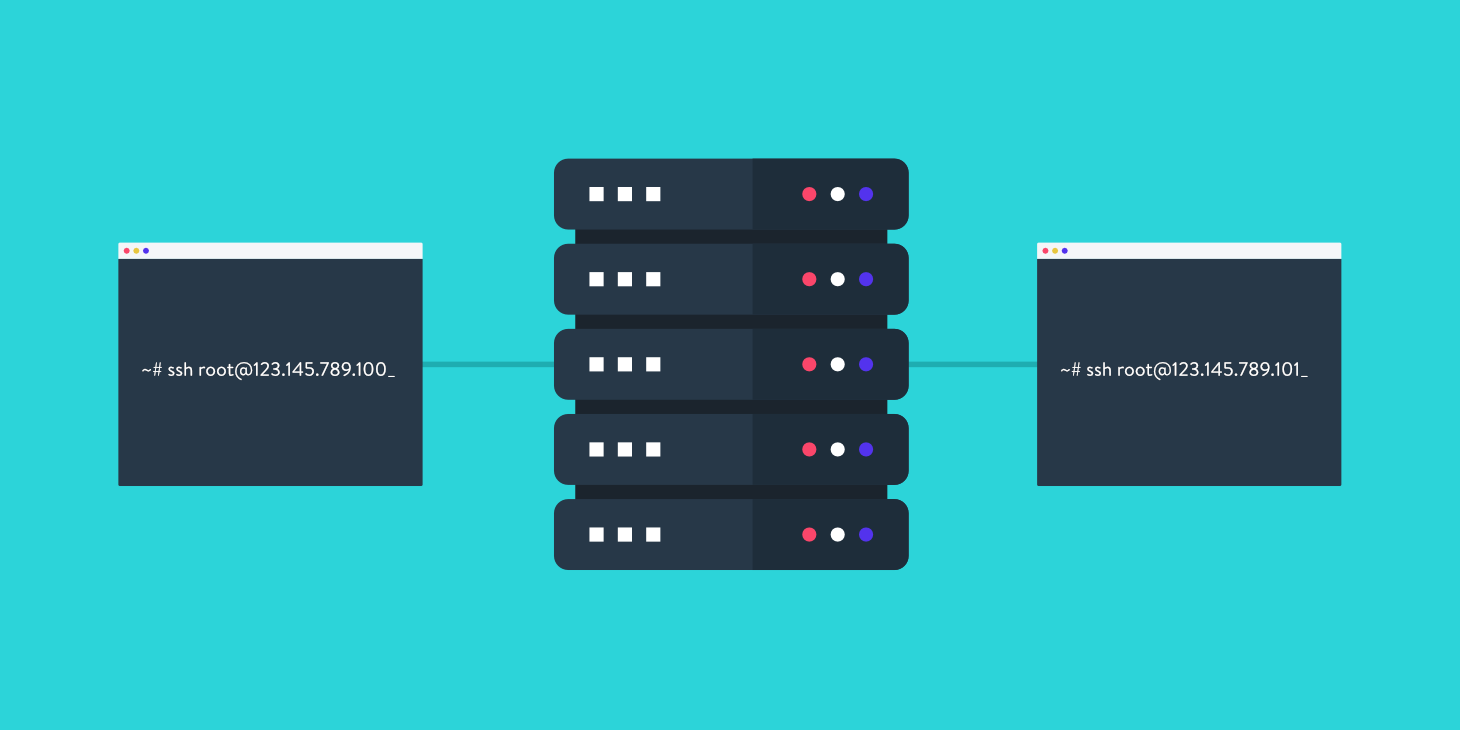
Suppose that you are a developer in some XYZ company, you have your own laptop and you also have access to the database server of the company. As part of the job, every Wednesday you check the database logs to see if there is any suspicious activity. For that, you have to log in to the remote database server and then see the logs.
You type the login command and provide your password and username and get access to the server. Suppose a bad neighbour of you is monitoring all the traffic going from your home network to the internet. Since you are not using any kind secure channel to connect to your server your neighbour sees your password and username in plain text. Now he also has access to your server credentials. He submits the credentials to the server and gets the access to the entire database 💣.
This is why you need SSH. So you can securely talk to your database server. SSH will encrypt the entire communication channel between you and the server. So even if someone is spying on the incoming/outgoing traffic they won’t be able to interpret it and you will be safe.
SSH allows us to securely get access to remote servers. It uses a number of technologies and standards behind the scenes. The two kinds of encryptions that it makes use of are Symmetric and Asymmetric Encryption.
Encryption like many other computer science subjects is pure mathematics. The purpose of this blog is to provide you a clear understanding of what happens when you use SSH to access a remote server from a security perspective.
I will make use of the client-server analogy in this blog. But SSH can be used at other places too.
Symmetric Encryption
Symmetric Encryption involves a single key which is used to encrypt and decrypt the data that is being sent over and received. It requires both the client and the server to have an identical secret key so that both the sides encrypt and decrypt the data that is being transferred back and forth.
When the client wants to setup a secure connection using symmetric encryption with the server. The client and server do a little back and forth to generate a secret key. This process is known as key exchange algorithm.
The process is similar to this
- Both the client and server agree on a large prime number (as a seed value).
- Both the systems agree on an encryption technique (generally AES).
- Both the systems also independently generate another large prime number which is never shared (as a private key).
- The seed value, encryption technique, and the private key is used by the client to generate a public key which can be shared with the server.
- The seed value, encryption technique, and the private key is also used by the server to generate a public key which can be shared with the client.
- Both the systems exchange their public keys.
- The server uses its own private key, the client’s public key, and the original shared prime number to compute a secret key.
- The client uses its own private key, the server’s public key, and the original shared prime number to compute a secret key.
- Both the client and server send a hash of the secret key and if the secret key is same the hash will be equal. If it is equal that means a secure and encrypted connection can now be established between the two using that key.
The thing to note here is that the secret key is generated on both the systems independently which means the secret key is never shared across the network. The process (Mathematics ❤️) guarantees that it will be the same on both the systems.
The secret key is then used to encrypt the entire connection after it is established.
SSH uses Symmetric Encryption to encrypt the entire connection.
It is a common misconception that ssh key-pairs are used for encrypting the connection. It is not true as they are only used for the initial authentication and there is a reason for that which we will read later.
The data sent over using symmetric encryption also contains a hash in each packet so that the server can check the hash to determine if the data was altered along the way or not (data integrity ✅).
Asymmetric Encryption
Asymmetric Encryption makes use of two keys (one private and one public). The public key is derived from the private key. A very interesting and the most important property of these two keys is that data encrypted by one key can be decrypted by the other key and vice-versa. Which means if public key encrypts the data, then only the private key can decrypt it and if the private key encrypts data then only the public key can decrypt it (Mathematics ❤️).
But these two keys serve a different purpose.
Public Key
The purpose of the public key is to encrypt the data that will be sent to the client. Since public key encrypted the data only private key can now decrypt the data and since only the client owns the private key only the client can do that. This solves one of our issues which is data sent from server to client should be encrypted. Public Key as the name suggests can be shared publicly with any server that should be able to securely communicate with the client.
Broadly speaking SSH happens in two stages, The first stage establishes a secure encrypted channel (Symmetric Encryption) to secure future communication. The second stage is to authenticate the client (Asymmetric Encryption) with the server.
Private Key
A signature is a hash of your message encrypted using your private key. To verify a signature, the server also generates a hash of the same message, get the hash from the client (by decrypting the signature with the client’s public key), and checks that both hashes are the same.
Because the server was able to decrypt the hash value with the client’s public key It assumes that someone with the private key must have encrypted the hash and sent it over.
Remember data encrypted with the private key can only be decrypted by the public key and since only the client(has the private key) server knows that the right client has sent the data.
Now the server knows that the rightful owner of the private key has sent the data it checks if the data was altered by comparing the two hashes. If both are same, it means the data was unaltered.
Signing and Encryption are two very different processes. Encryption is done using the public key while signing is done using the private key.
Encryption is done to encrypt and thus protect the data (coming from the server) while signing is done to verify the owner (which is the client) (since only owner has the private key).
This solves another issue that the server can now identify if the rightful owner has sent a message by looking at its signature.
Now we already know that when the server wants to send a message to the client. It uses the client’s public key to encrypt the message so only the client with its private key can decrypt it. We also know that the client sends an encrypted hash (a signature) to verify its identity to the server along with the data.
But one issue remains and that is who encrypts that data that will be sent to the server from client because the client’s private key isn’t used for that purpose.
The data sent from client to server is already encrypted using the previously established symmetric encryption. But Even if we assume that the private key is used for encrypting the data then anyone with the public key would be able to decrypt it. Public key is meant to be public (anyone can get access to it) so anyone would be able to decrypt your data. That means encrypting with the private key will not add to the security of the communication.
But then why do we need these public and private keys at all if everything is already encrypted?
Well, The first stage i.e Symmetric Encryption is a way to securely setup a communication channel between two endpoints(a client and a server here.) So if we only use this, anyone in the world can setup a secure connection with your server. We don’t want that. Yes we want the connection to be secure but we don’t want anyone to be able to connect to our server and that is why we need a Stage 2 i.e the authentication stage which will check that only some users who own the private key and are registered with the server can access it by proving that they have the private key.
Let’s try to visualize this by looking at this conversation between a client and the server when setting up SSH.
Securing the Communication - First Stage
Client - Hey Server I’d like to connect to you using SSH?
Server - Alright! here is my public key.
Client - Okay. Let me check if my known_hosts file has that public key.
Client - Aha! I have this key. That means I already know you. Great! I am less worried now.
Client - So let’s create a new pair of public and private keys and generate a secret which we will use to encrypt the connection moving forward.*
Server - Been there done that.
Client - I have generated a secret using your public key, my private key, and a random number that we just shared with each other. I am sending you a hash of this secret so you can match*
Server - Well, I did the same thing and guess what your hash matched mine. We’re good to go.
Now the symmetric encryption is established between the two. They both now will use the secret to encrypt any further communication.
Authentication - Second Stage
Password Authentication
The simplest is probably password authentication, in which the server simply prompts the client for the password of the account they are attempting to login with. The password is sent through the negotiated encryption, so it is secure from outside systems.
Key Pair Authentication - Asymmetric Encryption
Client - Here’s the public key of my ssh key pair that I would like to use for authentication*
Server - Hmmm, let me check my authorized_keys file to see if it has that key in it.
Server - I found it and I have generated a random number and encrypted that number with the found public key. I am sending you that number in encrypted form. If you really own the private key, you’d be able to decrypt this number and tell me what it is.*
Client - I see, I have an encrypted message. Let me decrypt this with my private key. Hmm, it is a number. I will use my private key to encrypt the hash of this number and I will send it to the server to let him know I know what the number is.*
Client - Sent :)
Server - Let me also generate a hash of the number I sent you. I have also decrypted your message and it is a hash. Aha! My hash matches the hash sent by you. You are the real owner*
Server - You are allowed to step in.
This process is only performed for authentication purpose and not for the subsequent communication as it takes a lot of steps and is a lot slower than the symmetric one.
Here are some of the useful commands to setup ssh on your machine.
ssh-keygen -t rsa -b 4096-b - “Bits” Key size is selected using the -b option.
-t - “Bits” The algorithm is selected using the -t option.
ssh-copy-id -i ~/.ssh/my_pub_key user@hostThis will copy your public key to the server and the server will allow access to you if you have the private key.
ssh -i ~/.ssh/old_keys/my_private_key user@hostThe -i option specifies a particular private key to use while trying to access a remote server. Otherwise ssh will try all the possible
keys it can access in the ~/.ssh directory.
Using the SSH config file
Imagine that you are managing 10 servers. Remembering I.P address, user name, and other connection config for all of the servers would be a pain.
Guess what? you can edit/create ~/.ssh/config file to setup your connection config for multiple remote hosts. The benefit of doing that
is all config resides in one place and you don’t have to remember connection config for all your servers when sshing into those servers.
Host todo-prod
  HostName 81.532.6.042
  IdentityFile ~/.ssh/todo-app-prod.pem
  ForwardAgent yes
  User ec2-user
  Port 6839

## The concept behind ssh -A which is ssh with agent forwarding are ssh agents.
## They run in the background and to forward your keys with Agent Forwarding you must add your desired keys to the ssh agent.
## ssh-add -K ~/.ssh/my-key.pem
## If you restart MacOS, you need to add your keys to your shh agent again

Host portfolio
  HostName tusharf5.com
  IdentityFile ~/.ssh/portfolio.pem
  User ec2-user
  Port 22
Now you can ssh into various remote hosts by typing their aliases specified in the config file.
ssh-add -K ~/.ssh/todo-app-prod.pem ## One Time
ssh-add -K ~/.ssh/portfolio.pem ## One Time
ssh todo-prod
ssh portfolio
This is a great article for learning how to manage/configure single/multiple ssh keys.
Thank you for reading this. I hope you found this helpful ✅